
Setting up Live Chat function
How to Add Facebook Messenger to you shop
Note: When enabling Facebook Messenger for your online store you are establishing a relationship directly with Facebook and are subject to their terms & conditions. Any queries about Facebook / Facebook Messenger should be referred directly back to Facebook.
- Head to the seller dashboard and click on Settings.
- Scroll down to the end of the page, you will find a checkbox option to Enable Live Chat.
You will need your Facebook Page ID. - In Facebook, click Pages in the left side menu.
- Click your Page name to go to your Page.
- Click About in the left column. If you don’t see About in the left column, click See More.
- Scroll down to find your Page ID below More Info.
- Go to Page -> About -> More Info area. Copy the Page ID from there.

Copy and paste this number into the section ‘Facebook Page ID’ section in your Baphomart shop settings.
Make sure the Enable Live Chat is checked, then click on Update Settings.

Next, you need to:
Add Messenger to your website
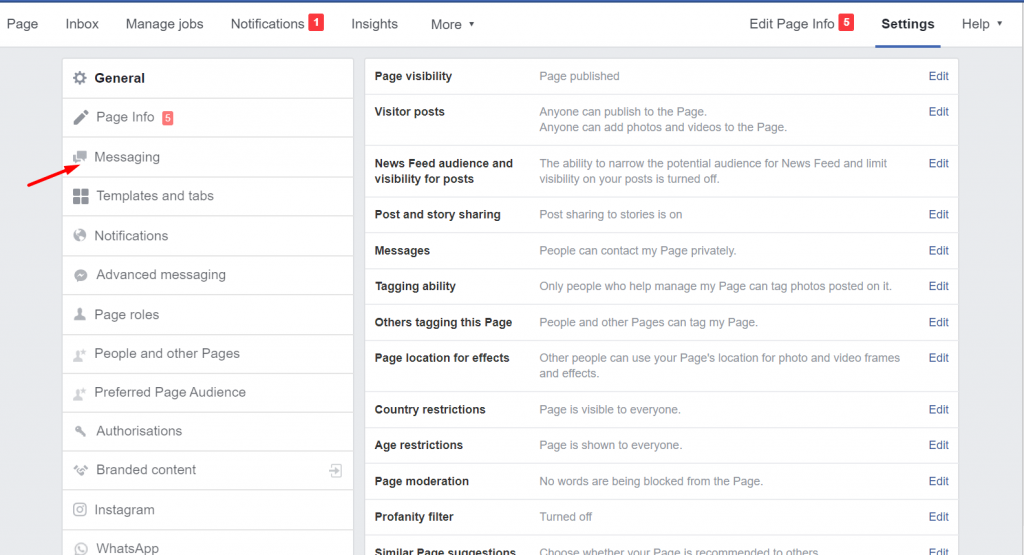
On your Facebook page, select Settings from the left-hand menu. Then select Messanging.
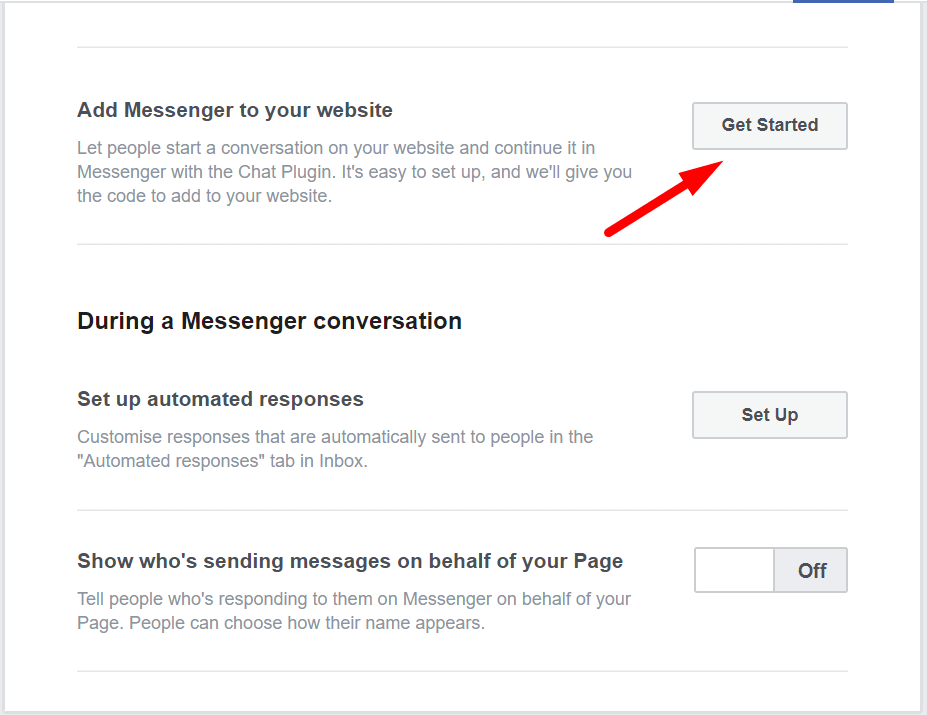
Scroll down to the section ‘Add Messenger to your website. Click on Get Started.
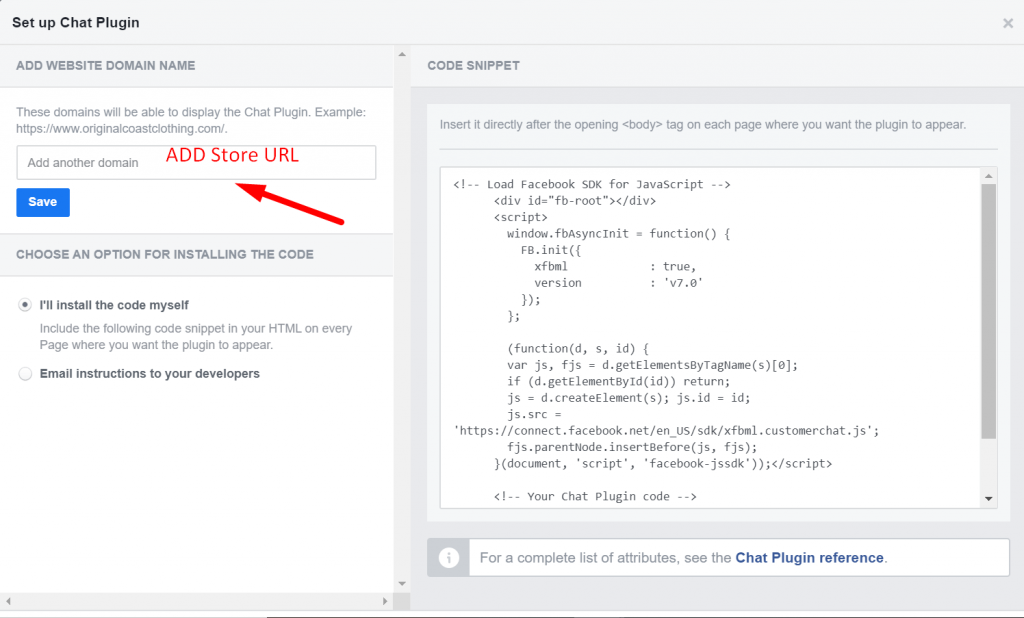
Add your Store URL on the domain text box (on the last page of the process).
Hit Save, then click the Finish button to end the process.
Now, if you navigate to your shop you will see the…
Chat Now Button

If you click on Chat Now, you will see a pop up with the Messenger icon.

You are all set up now! Why not test your chat function out.
Video Walkthrough Guide
Troubleshooting
If you find any errors coming up when you select the Live Chat button in your shop:
Please ensure you do not have any page blockers on as they can affect messenger loading.
Try on an alternative browser, sometimes browsers will block certain content, or if you are in ‘incognito’ or private browsing mode.
If you are still having trouble please contact support.